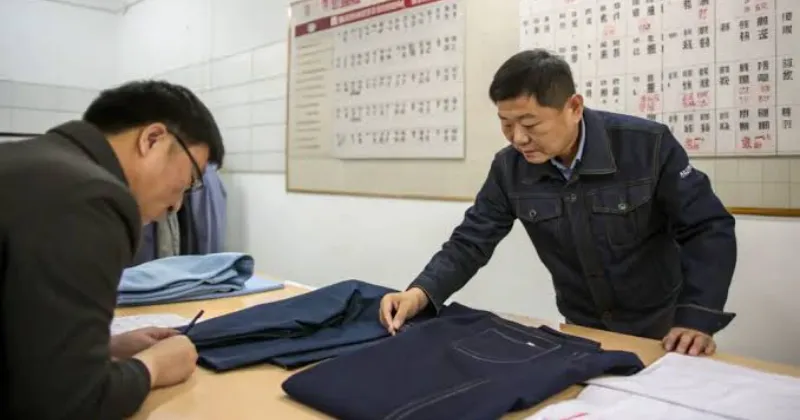
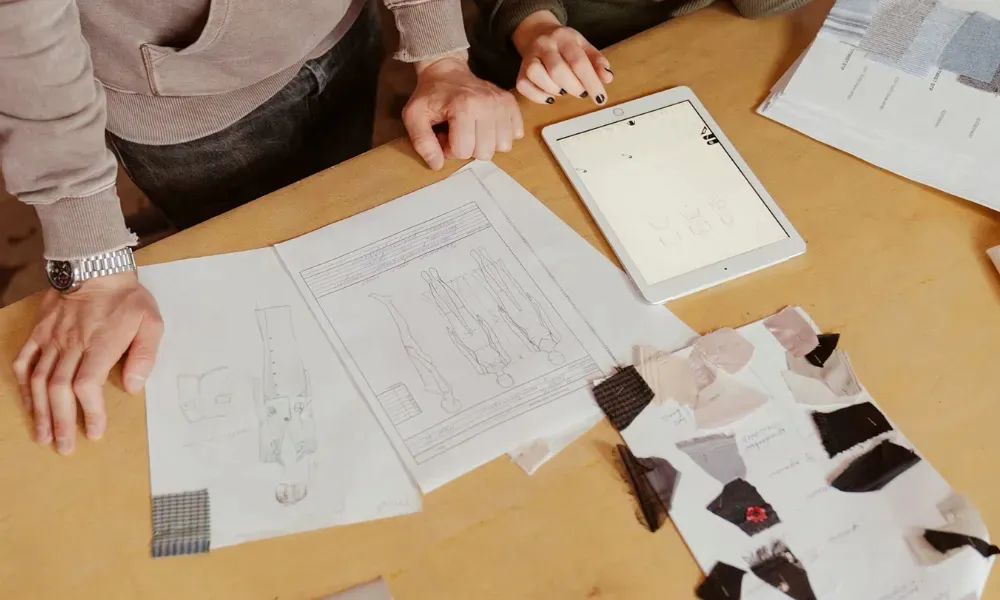
Founders often mistake a design sketch for a manufacturing plan. In technical sportswear, this error leads to failed lab dips and endless sampling loops. True apparel product development requires engineering a style that is manufacturable, cost-effective, and scalable.
This process spans tech pack creation, material sourcing, and rigorous QC before bulk production begins. Neglecting these steps guarantees costing surprises and missed shipping windows.
This guide outlines the sequential workflow to lock your Bill of Materials (BOM) and reduce revision rounds. We include a Tech Pack Checklist and Sourcing Audit Template to streamline the path from concept to compliant SKU.
As a vertically integrated sportswear manufacturer, we apply these protocols to ensure performance fabrics meet ASTM testing standards for durability and elasticity.
Apparel Product Development Guide: What You Need
Prep Time: 1–2 Weeks | Difficulty: Intermediate
Inputs & Financials
-
Performance Brief: Define the specific use case (e.g., High-impact training) and one non-negotiable requirement (e.g., opacity, wicking, or abrasion resistance).
-
Reference Sample: A competitor garment or benchmark unit to establish fabric hand-feel and construction standards.
-
Costing Targets: Rough MSRP and target margin. This allows the factory to reverse-engineer your allowable COGS.
Team & Access
-
Fit Verification: Access to a consistent fit model or standardized size set for approvals.
-
Technical Partner: Direct channel to a pattern maker or LeelineWear technical designer with a defined response SLA.
Software Stack
-
Standard: Excel/Google Sheets + PDF editors (lowest friction).
-
Growth: PLM software (use “PLM-lite” for small brands) to centralize BOMs and revision history.
-
Optional: 3D sampling tools (CLO3D) to visualize fit virtually.
Safety & Compliance
-
Materials: RSL (Restricted Substances List) sign-off required for all raw materials.
-
Standards: Adherence to OEKO-TEX Standard 100 for skin safety; consult CPSIA for children’s products.
-
Logistics: Define shipping liability using ICC Incoterms (e.g., DDP vs. FOB).
Downloadable Assets
-
Tech Pack Checklist (PDF)
-
Sourcing Audit Template (Spreadsheet)
⚠️ Safety First: Performance claims (e.g., “UPF 50+” or “Anti-Microbial”) are legally void without a specified lab test method. If you do not list the standard, the factory cannot guarantee the result.
🚀 Actionable Insight: Missing technical inputs?
to audit your specs before you pay for samples.Step 1: Draft the Technical Product Brief
Vague inspiration leads to costly redesigns. Instead of starting with sketches, create a 1-page product brief to serve as your factory’s “source of truth.” This document defines constraints before design begins.
Open a new document and define these three pillars:
-
Context: Specify the Target User, Activity, and Environment (e.g., “Competitive runner in high heat/humidity”).
-
Non-Negotiables: List 3–5 critical attributes that cannot be value-engineered away. Be specific: “Zero opacity (squat-proof),” “High-modulus stretch (compression),” or “Flat-lock seams (anti-chafe).”
-
Sizing Strategy: Identify your Base Size (the specific measurements of your fit model) and your Grade Rule (how the garment grows between sizes).
Perform a Sensory Check Visual mood boards are subjective; screens render colors and textures differently. You must explicitly describe the intended tactile experience in text to prevent sampling errors:
-
Hand-feel: “Cool-to-touch nylon surface,” “Peached interior,” or “Dry, granular texture.”
-
Wear-feel: “Heat-transfer labels (no scratchy tags)” or “Seams imperceptible during movement.”
[Image showing a Product Brief table listing ‘Function: High Impact,’ ‘Fabric Hand: Slick/Cool,’ and ‘Fit: Compression’ side-by-side.]
⚠️ Safety First: Review your brief for contradictions. A goal of “Premium heavyweight feel” conflicts with “Budget fabric costs.” If you send contradictory goals, the factory will guess, and they will likely guess wrong. Resolve these trade-offs on paper now.
Step 2: Create Technical Flats and Callouts
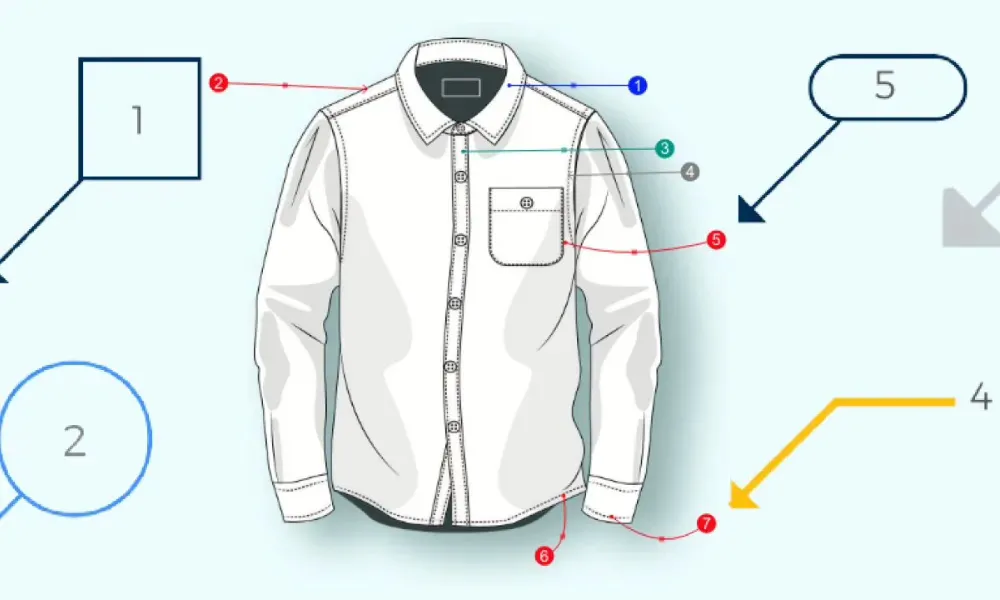
Translate your sketch into a manufacturing blueprint using Adobe Illustrator or CLO 3D. A factory cannot cut patterns from a mood board; they need precise Front and Back 2D flats.
Define Construction Intent Annotate every line with specific engineering instructions:
-
Seams: Specify Flatlock for high-friction zones (inner thighs) to prevent chafing. Use Overlock for non-contact structural seams.
-
Branding: Label Silicone Heat Transfer or Sublimation for stretch zones. Avoid embroidery on performance panels, as it restricts movement.
-
Hardware: Require “zipper garages” to prevent metal-on-skin irritation.
Perform a Sensory Check Review the design for physical comfort. Ensure waistband edges are bonded to prevent digging during compression and armhole bindings allow full rotation.
Verify: A pattern maker must be able to identify the grain direction and assembly order of every panel solely from this file.
⚡ Power Move: Validate proportions with 3D visualization before cutting fabric. A digital twin reveals awkward paneling that 2D drawings hide, preventing costly sample rounds.
Step 3: Build the Master Tech Pack
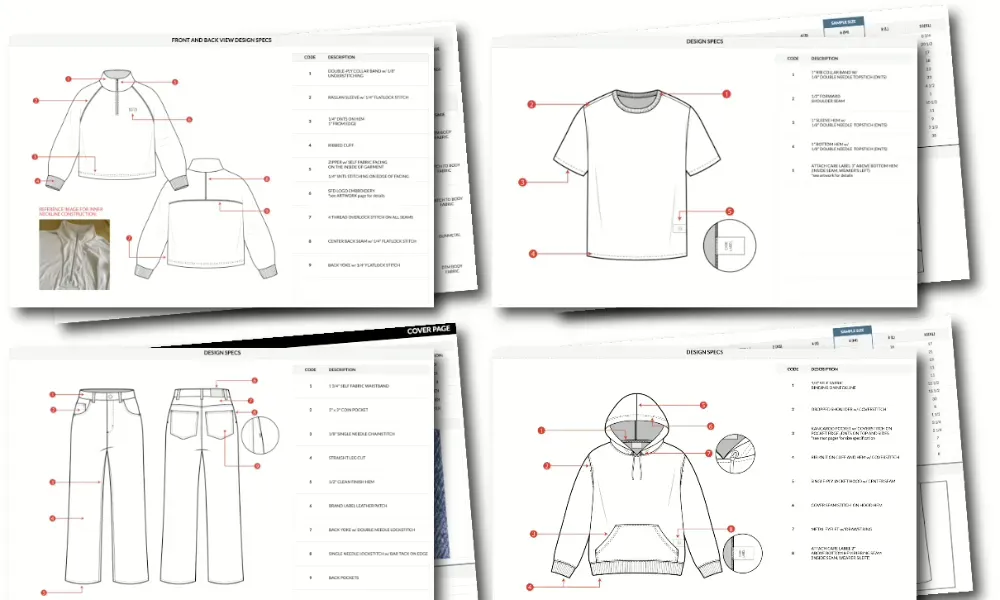
Transform your sketches into a binding manufacturing contract. If a detail is missing from this document, the factory will ignore it. Construct your pack with these mandatory sections:
-
Technical Flats: Vector diagrams highlighting every seam, stitch line, and label placement.
-
Bill of Materials (BOM): List every physical component (fabrics, trims, packaging). Define composition, GSM, and supplier codes. Do not write “Blue Thread”; specify “Pantone 19-4052 TCX, Poly-Core, Tex 40.”
-
Points of Measure (POM): Document critical dimensions for the Base Size and Grade Rules for the full size set.
-
Construction Standards: Define SPI (Stitches Per Inch) and seam types (e.g., ISO 607). Mandate bar tacks at stress points to prevent tearing.
-
Compliance & Safety: Require RSL (Restricted Substance List) sign-off. Verify performance claims against official standards, such as AATCC Test Method 79 for absorbency.
-
QC & Revision: Define defect tolerances (AQL 2.5) and maintain a strict Version History table to track changes and prevent production errors.
📥 Download: [Tech Pack Checklist (PDF)] – Tick off each section as you build to ensure zero gaps.
🔍 Sensory Verification A precise pack produces specific physical results: flatlock seams must lie flush without tunneling, and prints must stretch with the fabric without cracking.
🚀 Actionable Insight: Apply the “Two-Factory Rule.” If you hand this pack to two different manufacturers, they should produce identical samples. If the samples differ, your specs are ambiguous. Refine the data until the ambiguity is eliminated.
Step 4: Source Performance Materials & Trims
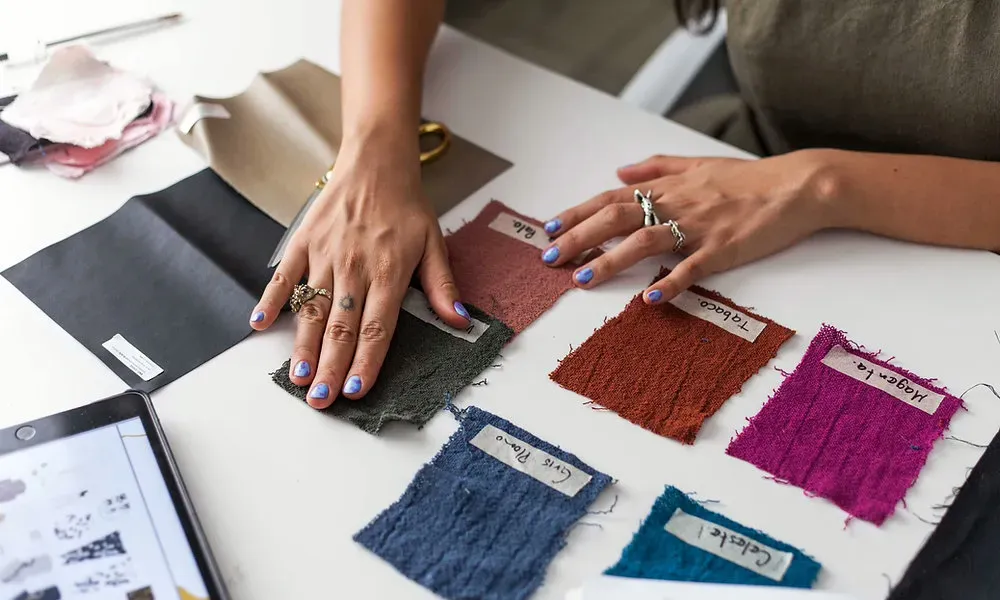
Adopt a sourcing-agent mindset: prioritize technical performance and repeatability over simple price comparisons.
Define Performance Requirements Request material options from your factory or nominated mill. Do not ask for “soft fabric”; define the physics of the material.
-
Main Fabric: Specify GSM (weight), Composition (e.g., 78% Recycled Polyester / 22% Spandex), and Recovery (snap-back capability).
-
Trims: Test Elastics and Zippers for durability. A waistband must survive thousands of stretch cycles without warping.
-
Sustainability: ⚠️ Warning: “Eco-friendly” claims require proof. Demand Transaction Certificates (TC) or Global Recycled Standard (GRS) documentation and confirm RSL (Restricted Substances List) compliance.
Systematize Sourcing Data Request a Fabric Spec Sheet for every candidate to confirm MOQ (Minimum Order Quantity) and lead times. Choose your sourcing method based on agility needs:
-
Factory-Led: Faster integration using the manufacturer’s network.
-
Nominated Mill: Higher control over quality, but requires more coordination.
Execute Sensory Checks Perform a physical “stretch and recover” test on the swatch. Hold the fabric against a light source while stretched to ensure it remains opaque (squat-proof). Document the hand-feel (e.g., “slick” vs. “peached”) and record the Supplier Lot Number.
Verification Assign a unique Internal Code (e.g., FAB-NYL-04) in your BOM. This identifier prevents the factory from substituting a visually similar but technically inferior lot during bulk production.
🚀 Actionable Insight: Never approve colors via digital photos. Screens distort saturation. Require a physical Lab Dip or Strike-Off and view it under standardized light sources before approving the bulk order.
Step 5: Execute the Sampling & Fit Strategy

Establish a strict Sampling Plan to prevent timeline creep. Treat this phase as a gated process where you isolate variables—fit, construction, and materials—rather than changing everything at once.
Define the Revision Gates
-
First Proto (Fit Sample): Test silhouette and measurements using available stock fabric. Focus solely on pattern logic.
-
Revised Sample: Evaluate performance using correct fabrics and trims. Incorporate corrections from the first round.
-
Pre-Production (PP) Sample: Confirm the “Gold Seal” standard. This unit must match mass production specifications exactly, including packaging.
Case Study: One Sports Bra, Three Iterations A recent LeelineWear project demonstrates the progression from concept to bulk:
-
Concept: 2D Sketch → Tech Flat + BOM.
-
Validation: 3D simulation verified paneling logic.
-
Sample #1: Logged fit issues (strap angle, neckline gaping).
-
Sample #2: Corrected construction with bonded seams; increased elastic tension.
-
PP Sample: Final confirmation of opacity and packaging.
| Version | Change Made | Outcome |
|---|---|---|
| v1 | Strap angle -2° | Eliminated shoulder slip |
| v2 | Higher modulus elastic | Improved high-impact support |
| PP | Heat transfer label | Approved for Bulk |
Perform the Sensory Check Wear the sample and execute a 5-Movement Test to expose failure points:
-
Reach: Check for hem rise or restriction.
-
Twist: Verify side-seam alignment.
-
Squat: Test rear opacity and waistband rollback.
-
Jog: Monitor strap bounce and support.
-
Deep Breath: Check for ribcage constriction.
Inspect seams under strong light for “grin-through” (elastic visibility).
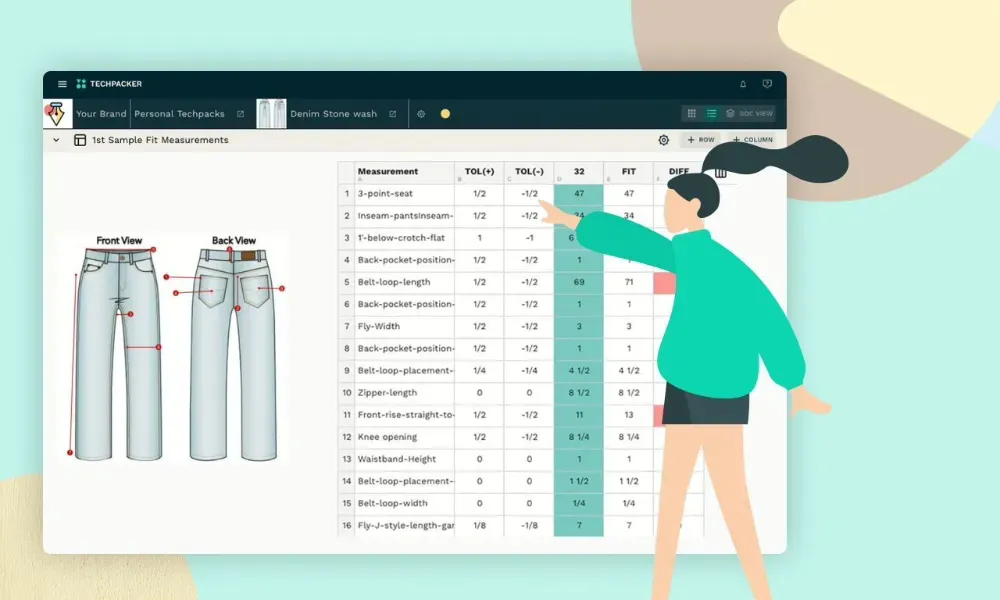
Verification & Feedback Measure the sample against POM (Points of Measure) tolerances. Reject any unit deviating beyond the allowed limit (e.g., +/- 0.5cm). Update your tech pack with Redlines and classify feedback as either Must-Fix (structural) or Nice-to-Have (aesthetic).
⚡ Power Move: Require the factory to sign off on the Revision History log before authorizing the next sample round.
Step 6: Build the Costing Sheet & Set Pricing Logic
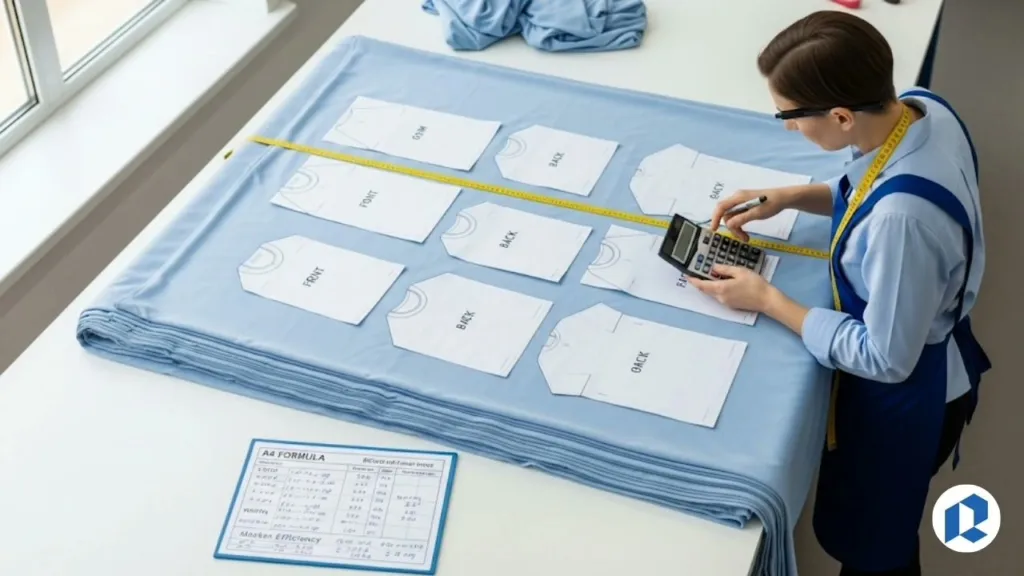
Treat costing as a rigid design constraint. You must build a granular costing sheet that maps perceived quality directly to manufacturing drivers.
1. Break Down the BOM Do not accept a single “all-in” price. Request a quote breakdown into three specific tiers:
-
Materials & Consumption: Factor in Marker Efficiency. High-waste patterns drastically increase raw material costs.
-
Labor (CMT): Correlate stitch complexity with time. Flatlock seams require more machine minutes than standard overlock. Include tooling and sample amortization here.
-
Landed Costs: Consult the ICC Incoterms rules to decide between FOB (you manage freight/risk) and DDP (factory manages delivery/duties).
2. Set Channel-Specific Margins Calculate your MSRP based on strict margin requirements:
-
DTC: Target a 75% Gross Margin. This must cover Customer Acquisition Costs (CAC) and a 20–30% Returns Allowance for fit-critical categories like leggings or bras.
-
Wholesale: Structure pricing to allow for a 2.2x–2.5x retailer markup without eroding your base profit.
⚡ Power Move: Isolate a 3–5% Contingency Line for currency fluctuation (FX) and fuel surcharges. Log this as a visible row in your sheet rather than burying it in “Overhead.”
🔍 Troubleshooting: If the factory quote exceeds your target, do not just ask for a discount. Remove specific cost drivers (e.g., swap Bonded Finishes for standard stitching) and ask for a re-quote based on the revised Tech Pack.
Verification: The factory quote matches your internal BOM assumptions. Any variance is explained by a specific line item (e.g., “Fabric Yield”), not a generic “Miscellaneous” fee.
Step 7: Lock Production Artifacts & Critical Path
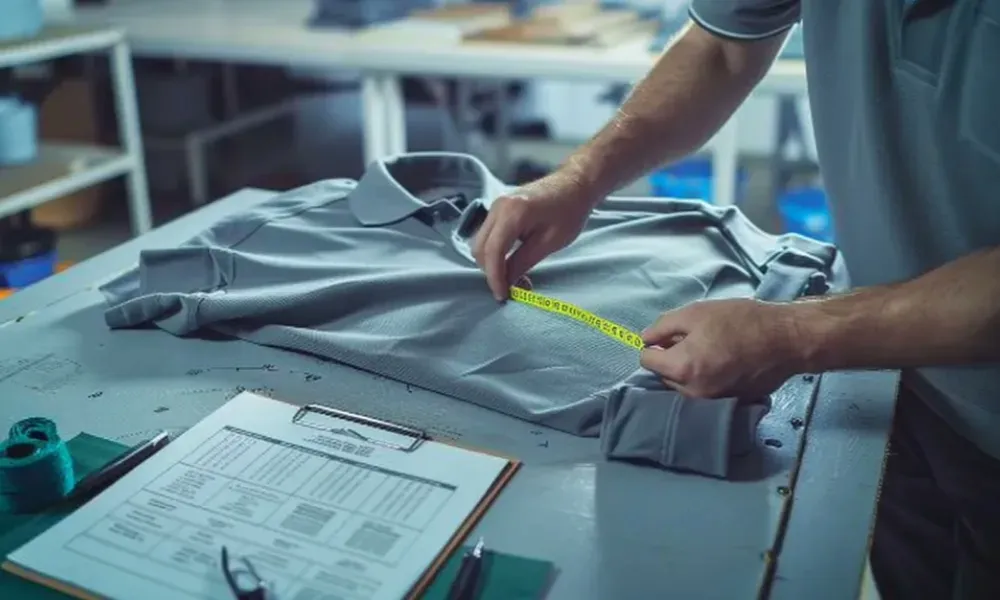
Ambiguity here delays the Critical Path—the unmovable sequence of events required to hit your delivery date. You must freeze all variables now.
Convert Approvals to Artifacts Do not rely on email chains. Issue specific, binding documents:
-
Final Tech Pack: Stamp files “Released for Production” to invalidate previous drafts.
-
Purchase Orders (PO): Issue separate POs for fabric/trims and bulk production.
-
Volume Matrix: Define the Size Breakdown (e.g., S-M-L-XL in a 1-2-2-1 ratio) and Color Breakdown.
Map the Schedule Reject generic “45-day lead time” estimates. Demand a calendar confirming dates for Material Booking, Lab Dips, Bulk Dyeing, Cutting, Sewing, and Finishing.
Control Financial Risk Negotiate a 30% Deposit to book materials and a 70% Balance triggered only after a successful Pre-Shipment Inspection.
- ⚠️ Warning: Never pay 100% upfront. Require video evidence of packed goods before releasing the final wire.
Sensory Check Compare the factory’s “Sealed Counter Sample” (tagged and signed) against your approved PP sample. If the hand-feel is stiffer or the color shifts, pause immediately. This often indicates an unauthorized material substitution.
🚀 Verification: The factory confirms your capacity slot and writes specific milestone dates into the signed Proforma Invoice.
Step 8: Engineer the Quality Control (QC) Protocol
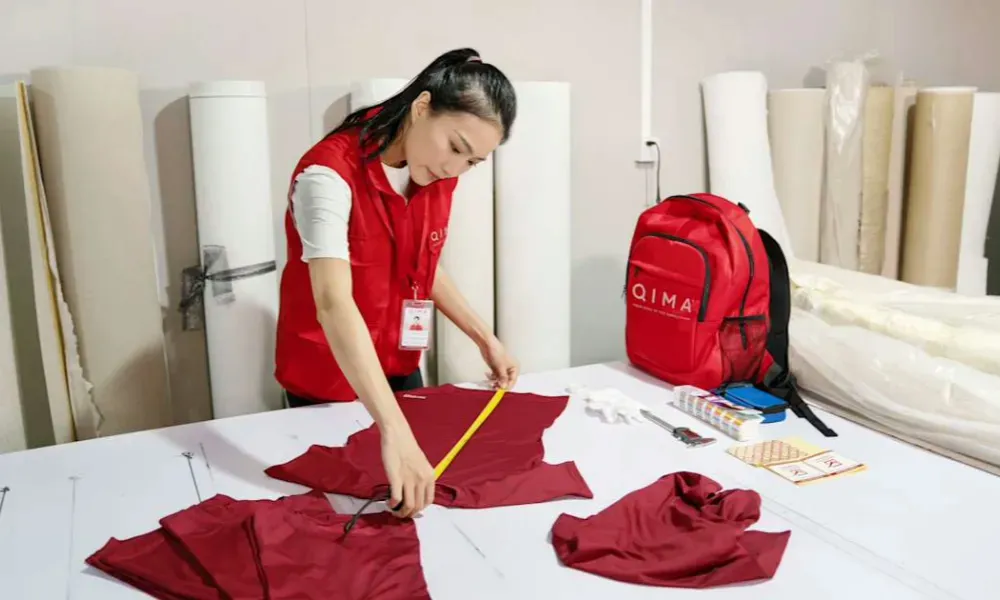
Quality is engineered upstream, not inspected at the end. To avoid the “Golden Sample” trap where bulk production fails to match the prototype, establish a measurable Inspection Plan.
Define Inspection Gates Codify these checkpoints in your manufacturing agreement to catch defects early:
-
Incoming Quality Control (IQC): Inspect raw materials for shade variance, holes, and shrinkage before cutting.
-
Inline Inspection (DUPRO): Verify critical operations during assembly. For activewear, check waistband tension and bonded seam recovery.
-
Final Random Inspection (FRI): Enforce the ISO 2859-1 standard (AQL). Set strict tolerances: 0 Critical (safety), 2.5 Major (functional), and 4.0 Minor (aesthetic).
Visualise the Defect Standard Create a Defect Glossary with “Pass/Fail” photos to eliminate ambiguity:
-
Construction: Reject “tunneling” (puckered fabric) or skipped stitches on flatlock seams.
-
Prints: Ensure heat transfers do not crack when stretched to the fabric’s limit.
-
Shade: Compare production units against the approved Lab Dip under standard lighting.
Sensory & Compliance Verification Perform a tactile review of Top of Production (TOP) samples. Run hands over seams to check for roughness and test labels for stiffness against the skin. Collect official test reports for any functional claims. Store all signed QC Reports in your PLM or version-controlled drive.
🚀 Actionable Insight: Do not rely solely on factory internal QC. For new suppliers, hire a third-party inspection agency (like QIMA or SGS). Rule: Cartons are sealed and the final balance is paid only after you receive a passing inspection report.
Step 9: Orchestrate Launch Readiness & Lifecycle Management

Treat inventory arrival as the start of your next iteration cycle. Pivot immediately from development to data collection and refinement.
1. Execute a Pre-Shipment Audit Verify logistics data before goods leave the factory.
-
Barcodes: Scan case labels to ensure they match your SKU list. Mismatches cause indefinite warehouse holds.
-
Compliance: Confirm polybags feature legally required suffocation warnings for your target region.
-
Allocation: Ring-fence stock for Wholesale or Team Orders before enabling DTC sales to prevent overselling.
2. Centralize Development Assets Archive your final Tech Packs, BOM versions, and Test Reports in a PLM system or structured cloud drive. Do not leave critical data in email threads. Log Supplier Performance (actual vs. promised lead times) to use as leverage in future negotiations.
3. Translate Sensory Feedback to Specs Monitor returns and reviews to build a “Version 2” specification sheet. Translate subjective complaints into objective BOM updates:
| Customer Feedback | Engineering Action |
|---|---|
| ”It feels scratchy” | Switch label to Heat Transfer or use Wooly Nylon thread. |
| ”It runs small” | Adjust the Grade Rule or increase the Waist Relaxed POM. |
| ”Fabric is sheer” | Increase fabric GSM or specify a blackout interlock structure. |
Verification You have a “Next Revision” document populated with specific BOM adjustments based on early feedback.
🚀 Actionable Insight: Stop guessing on fit fixes.
to review your customer feedback and engineer specific BOM updates for your next production run.Recommended Reading:
-
How to finding sportswear manufacturers: From Tech Pack to First PO
-
Sportswear manufacturers China vs Europe: Which is Better for Your Supply Chain?
Troubleshooting Common Development Pitfalls
In apparel manufacturing, “bad luck” is usually bad documentation. Production failure rarely stems from broken machinery; it stems from ambiguous instructions.
Here are the specific failure points experienced on the factory floor and how to engineer them out of your process.
Problem: Samples come back “wrong” despite detailed instructions
The Fix: Ambiguous callouts force sewers to guess. Do not send a pack until every item on the Tech Pack Checklist is complete. Never rely on text alone; annotate photos with bright red arrows to pinpoint stitch expectations. Identify every item in the BOM uniquely to prevent confusion. Finally, designate a single decision owner.
If the designer and founder send contradictory feedback, the factory will freeze.
Problem: Bulk fabric deviates from sample (shade/hand-feel)
The Fix: Factories may substitute materials due to stockouts or dye lot variations. “Seal” the fabric by assigning a specific Internal Code and Lot Number to the approved swatch. Require a physical “Shipment Sample” cut from the actual bulk roll for approval before the factory begins cutting patterns.
Problem: Cost jumps after sample approval
The Fix: Initial quotes are estimates. Require a final quote keyed explicitly to your Final BOM (Bill of Materials). Ensure your margin calculation models the Total Landed Cost, including testing, freight, and specific Incoterms (e.g., DDP vs. FOB). A cheap FOB price often becomes expensive once duties are applied.
Problem: Fit distorts across size ranges
The Fix: Linear scaling often fails because human bodies do not grow linearly. Validate your Grade Rules by ordering a Size Set (one unit in every size, XS–XXL). Verify that armhole depth and rise increase proportionally before authorizing the full run.
Problem: Timeline slips during peak season
The Fix: Material lead times often collide with unbooked factory capacity. Reserve production slots by paying a deposit while materials are still in transit. Lock critical path dates and add a 10-day buffer to the factory’s stated timeline for unforeseen customs or QC holds.
🛑 Warning: When to Pause Production
If you encounter any of the following, do not authorize the next step. Stop and escalate immediately:
-
Unauthorized Substitution: The factory uses a “similar” trim because the specified one was out of stock.
-
Missing Compliance: They cannot produce the OEKO-TEX Standard 100 certificate for the specific fabric lot.
-
Repeat Defects: The exact same defect appears in the second round of sampling.
People Also Ask About Apparel Product Development
What is the difference between a prototype and a Pre-Production (PP) sample?
A prototype (or fit sample) focuses solely on silhouette and measurements, often using substitute fabrics to test the pattern logic. A Pre-Production (PP) sample, however, is the “Gold Seal” standard used for a binding manufacturing contract. It must feature the exact correct fabric, trims, color, and packaging.
Bulk production should never begin until you have a signed, approved PP sample in hand to serve as the benchmark for Quality Control.
How do I calculate the Total Landed Cost (TLC) for my production run?
Do not rely on the FOB (Free on Board) price alone. Your Total Landed Cost is calculated as: FOB Price + Freight + Customs Duties + Lab Testing Fees + 3PL Handling. Failing to account for tariffs—which can exceed 30% for synthetic textiles in some regions—will destroy your margins.
Always clarify the Incoterms (e.g., DDP vs. FOB) with your manufacturer to know exactly where your liability ends.
Why are unique identifiers critical in a Bill of Materials (BOM)?
Using generic terms like “Black Spandex” allows the factory to source from any supplier, leading to inconsistency between batches. Assigning a unique ID (e.g., FAB-BLK-220) locks that specific material to a verified supplier and lot number.
This ensures that the fabric approved in your lab dip is the exact same fabric used in your bulk production, preventing unauthorized material substitutions.
What Quality Control (QC) standards should I use for activewear?
Standard activewear inspections should follow ISO 2859-1 (AQL 2.5) for general defects. However, you must also specify performance testing standards. For example, use ASTM D3786 for bursting strength (critical for compression gear) and AATCC 79 for moisture-wicking properties.
Without citing these specific test methods in your tech pack, you cannot legally enforce performance claims if the product fails.
Can I skip the tech pack if I have a physical reference sample?
No. A physical sample represents the outcome, but the tech pack provides the instructions to reproduce it repeatably. Without a tech pack containing a graded measurement chart, construction callouts, and a defined BOM, you have no legal recourse if the factory delivers a production run that varies from your sample.
The tech pack is your contract; the sample is just the proof of concept.
Final Checklist & Next Steps
Developing a custom sportswear product is an engineering challenge, not just a design project. Success is not defined by the creativity of your sketch, but by the rigidity of your documentation.
By following the workflow outlined above—from the product brief to the final QC gate—you transform a chaotic sampling process into a predictable manufacturing loop.
Before you wire your deposit, run your project through this Pre-Launch Confirmation Checklist:
-
Measurable Brief: Your product brief defines specific use-cases (e.g., “High Impact”) rather than vague adjectives.
-
Versioned Tech Pack: Your files are stamped “Released for Production” with a clear revision history.
-
Locked BOM: Every fabric, trim, and label has a unique ID and a nominated supplier.
-
Defined Gates: You have a calendar confirming dates for Lab Dips, PP Samples, and Final Inspection.
-
Total Landed Cost: Your margin analysis includes freight, duties, and a testing budget.
-
Measurable QC: Your contract specifies AQL 2.5 and lists the specific ASTM/ISO standards for performance testing.
Your Immediate Next Action
Do not attempt to launch an entire collection at once. Start with one “Hero SKU”—such as a core legging or sports bra—and run the full process from start to finish. This pilot run validates your supply chain and establishes your quality baseline with minimum financial risk.
Ready to build?
- for a manufacturing feasibility review of your current tech pack. Our engineering team can identify potential failure points before you commit to tooling costs.
Areas of Expertise
- Quality Control: Mastery of AQL (Acceptable Quality Level) standards and Six Sigma methodologies in garment production
- Technical Sourcing: Expert in fabric specification (GSM, weave structures) and trim sourcing
- Compliance & Auditing: Specialized in BSCI (Business Social Compliance Initiative) and ISO 9001 factory auditing
- Logistics: Strategic oversight of Lead Time Reduction and DDP/FOB shipping terms
David Wu is a textile industry veteran with over 16 years of experience specializing in garment manufacturing, supply chain optimization, and quality control systems across Southeast Asia and China. His career is defined by implementing rigorous AQL 2.5/4.0 inspection protocols for mid-to-large-scale private label brands. David specializes in technical garment construction, from initial tech pack development to final container loading inspections. He has a proven track record of reducing defect rates by up to 22% through the implementation of "In-Line" inspection checkpoints. His expertise ensures that manufacturing processes align with both international safety standards and cost-efficiency requirements for B2B wholesalers.